Cool Trick: Creating Dynamic Character Names in Ebooks
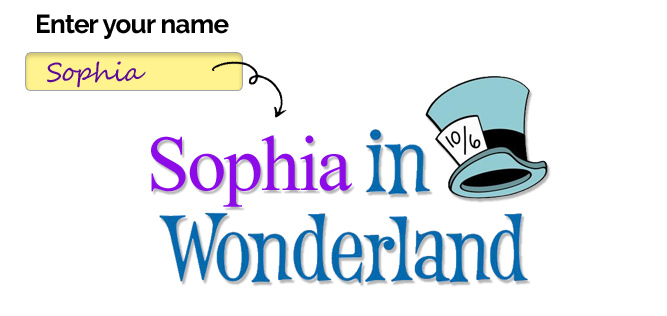
Imagine 9-year-old Sophia reading her favorite storybook Alice in Wonderland only to find Alice being replaced by Sophia herself. Even if you’re not impressed, don’t underestimate how much this will mean to the children. For a kid to see his/her own name featured in the book (let alone becoming the hero) is a big deal! After all, isn’t reader engagement one of your main goals as an author?
In this article, we’re going to look behind the curtains, into the technical side of things, and share one of our secrets for creating interactive ebooks: dynamic character names. This applies to EPUB 3 ebooks (for an understanding of the EPUB format, read: Alice in EPUB-Land: Understanding the EPUB format).
Free download inside: Customizable, fully working EPUB of ‘Alice’s Adventures in Wonderland’ with a dynamic protagonist name.
Here is how it goes:
- A child opens the ebook.
- The ebook asks the child for his or her name.
- The child enters their name.
- The child reads the story and finds his name applied throughout the book.
- The child opens the ebook the next day and finds his name still there.
- The child loves your ebook.
You can use any EPUB editor to apply the steps in this article. Just make sure that the EPUB editor allows you to edit the source (HTML) of any chapter/page. For convenience, we will be using Kotobee Author (freely downloadable for Windows and Mac from the product page here), and show screenshots whenever possible. Following these steps requires a bit of coding, so if you are familiar with HTML and Javascript, then everything will be a breeze. If not, don’t worry – just follow my lead step by step. It’s just two steps anyway.
To download a fully working example that you can edit yourself, just click the button below. Continue reading to learn how to do it yourself from scratch.
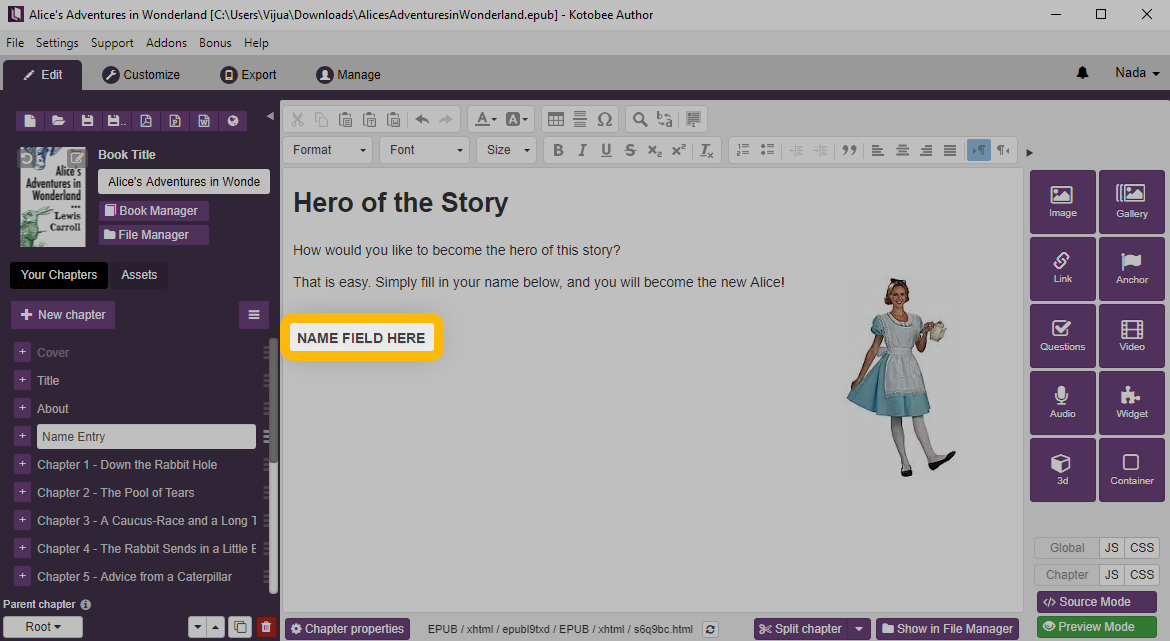
Step 1. Asking for the child’s name
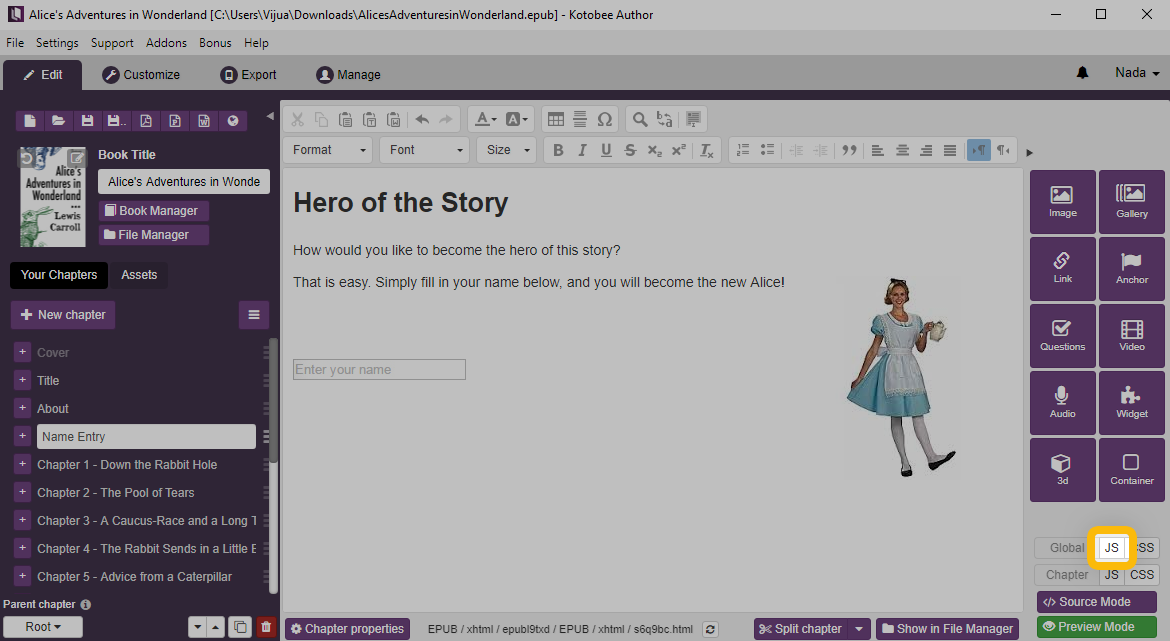
After entering all the introductory text you’d like on the first page, mark the area where you will be asking for the child’s name. You’re using that marker as a placeholder, to create a text input field there.
Reveal the source code of the page. You can do that in Kotobee Author by clicking on the Source Mode button at the bottom right side of the screen.
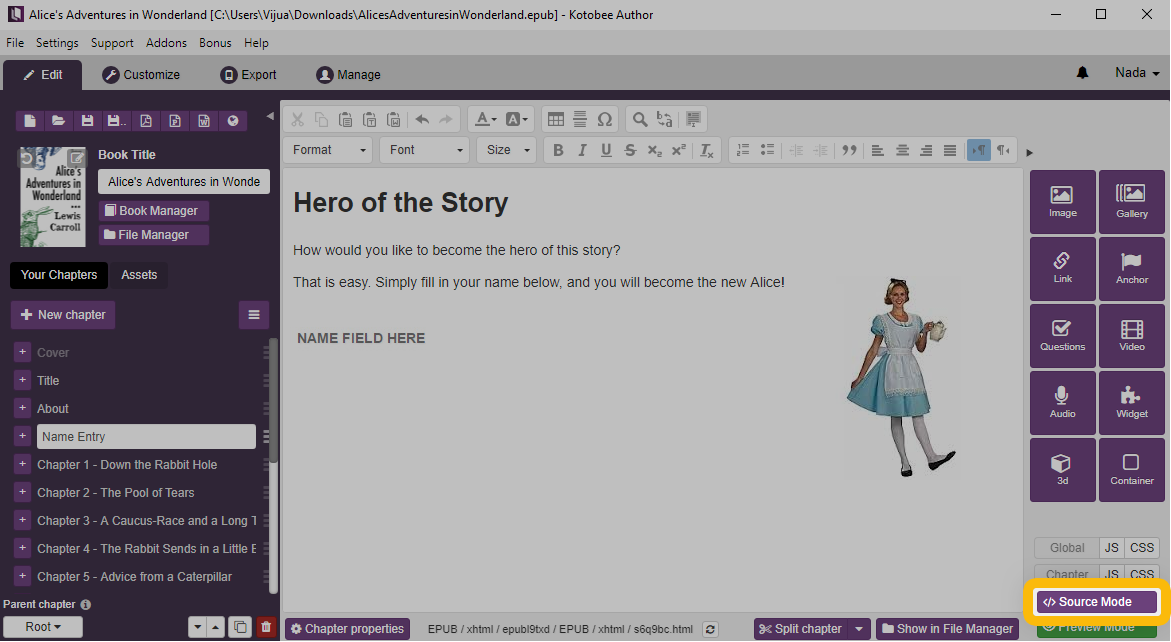
Locate the area that you’re going to add the input text field. Now add the following code:
<input type="text" name="hero" placeholder="Enter your name" />
Click the Apply and exit button. The input text field will initially look like this:
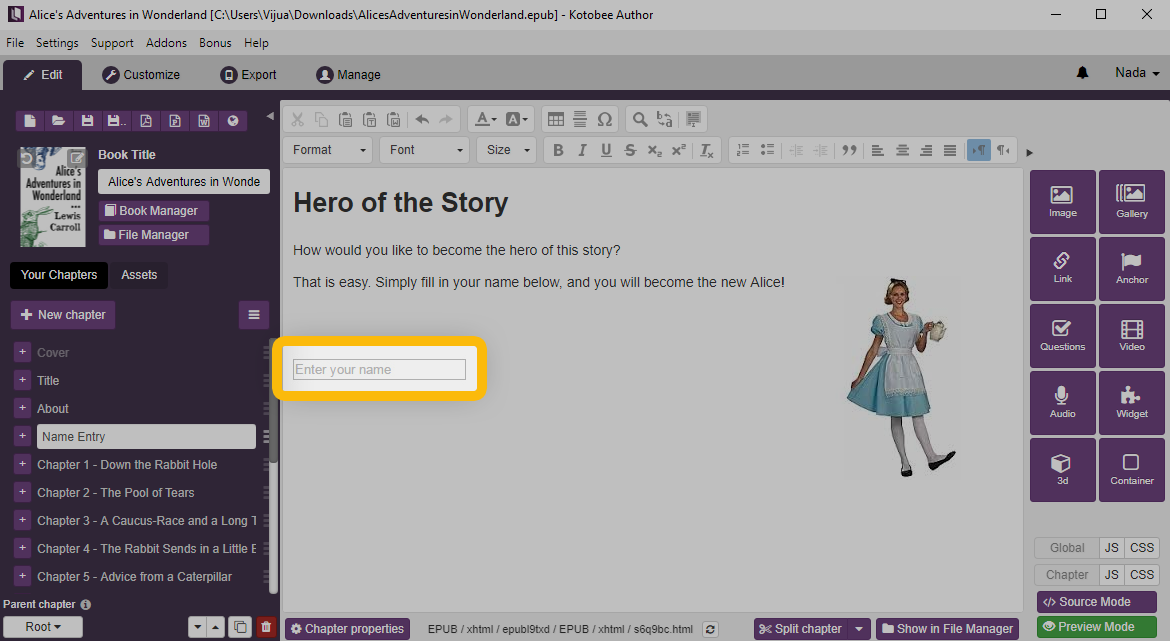
Don’t worry, we will be able to improve its appearance later. “Enter your name” is just a placeholder that will appear when the text field is empty. If you’d like to have a default name instead, add a “value” attribute with the default name, as follows:
<input type="text" name="hero" placeholder="Enter your name" value="Alice" />
Now let’s look at how we can make this text field useful.
Capturing the child’s name
Whenever the child types anything into the text field, we need to memorize that name. So we will name a new function whenever something is entered. Let’s first add an onkeyup attribute to the input text field, to detect whenever the text field has changed (at each keystroke), and consecutively name a function nameChanged.
<input type="text" name="hero" placeholder="Enter your name" value="Alice" onkeyup="nameChanged(this)" />
Now apply that text and exit the source mode. We will now need to create a Javascript function. Surprise! Today’s the day you become a coder. Kotobee Author gives you easy access to a global Javascript file that is accessible from any page or chapter. Click on the Global JS button at the bottom right to open it.
Paste the following:
function nameChanged(textfield){
  localStorage["hero"] = textfield.value;
}
Congratulations. You’re a coder!
Being fancy
If you’re like me and like things to look perfect, then you should stylize the text field. Unfortunately, this has to be done through code as well (CSS to be specific). Go back into the Source Mode, and add a new “style” attribute to the input text field, as follows:
<input type="text" placeholder="Enter your name" value="Alice" style="padding:10px; width:200px;height:50px;color:blue;background-color:yellow;border-radius:5px;font-size:21px" />
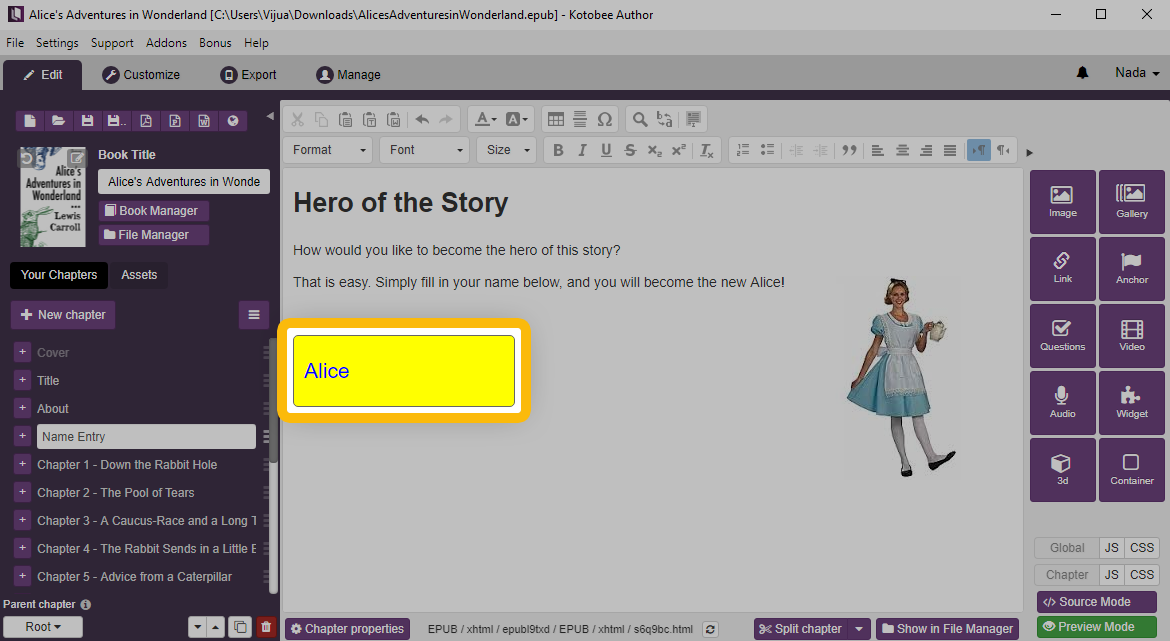
You can customize those values as you wish.
Step 2. Replacing the name throughout the book
Now with the child’s name in memory, we need to find and replace the original character name with the new name. First, you do not want to apply this globally throughout all the chapters. There are chapters that should still contain the original protagonist’s name, such as the title, introduction, or preface chapters, etc. So let’s first mark the chapters we’d like this applied to.
Open each chapter you’d like to have the dynamic naming applied to, and reveal its source code (click on the Source Mode button). You will search for the <body> tag and add <div class=”dynamicNaming”> right after it. Also search for </body> and add </div> right before it. This will mark the entire chapter for dynamic naming.
Note that you can mark specific sections of your chapter instead by wrapping these tags around the sections in the same way.
After you’re done marking all the desired chapters, open the global JS file (click on Global JS at the bottom right), and paste the following:
setTimeout(function(){
 if(!localStorage["hero"]) return;
 var elem = document.getElementsByClassName("dynamicNaming");
  for(var i=0;i<elem.length;i++)
   elem[i].innerHTML = elem[i].innerHTML.split("Alice").join(localStorage["hero"]);
},0);
This does just what we need: searches for the original protagonist’s name (i.e. Alice) throughout the HTML code and replaces it with the child’s name. The code will run whenever a new page is opened. Click on the Preview Mode button at the bottom right to see it in action.
Although the script is simple (just a few lines), and indeed works, this approach has its drawbacks: if the protagonist’s full name is mentioned (e.g. Nancy Drew) then only the first name (i.e. Nancy) will be replaced.
You may continue using this approach if this drawback doesn’t apply to you. But let’s see something more fault-proof.
A more fault-proof approach
This new approach will require some extra work beforehand but gives more guaranteed results. It involves going through the story chapter by chapter and finding instances of the protagonist’s name along with their last name (e.g. Nancy Drew, Nancy, N, or whatever nicknames used). For each of these instances, a simple modification needs to be made. There’s an easy way of doing this modification and there’s a hard way. Let’s start with the hard one to get it out of the way.
Hard way (more efficient)
If you’re tech-savvy enough, the hard way involves adding a CSS class to each name (wrapped in a span tag) to be able to locate them later using Javascript. The wrapped span tag would look like this: <span class=”protagonist”>Alice</span> in Wonderland. This can be done quickly in source mode using the Replace all keyboard shortcut (Shift-Ctrl-R/Shift-Cmd-Option-F), to replace the name with the wrapped HTML version. If you follow this path, we wish you good luck. That’s how we personally do it, as it gives us better control in the long run.
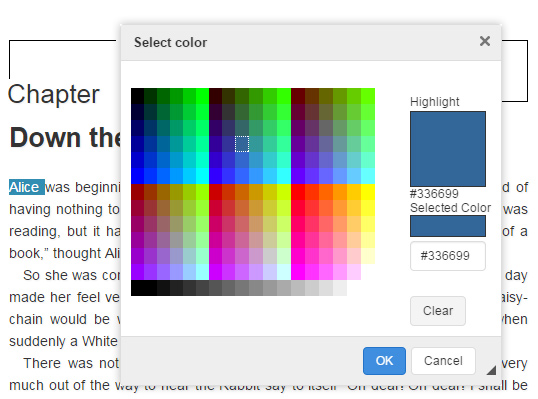
Easy way
As for going the easy route, this can be done without going into the source code. You will give each name a certain unique color style throughout the book. Simply highlight the protagonist’s name and using the color tool, select a color guaranteed not to be used elsewhere. If you can’t find a unique color in the color dialog box, click on More Colors.
Now in the Global JS file, paste in the following code:
setTimeout(function(){
 var elem = document.getElementsByTagName("span");
 for(var i=elem.length;i--;)
  if(rgb2hex(elem[i].style.color)=="#336699")
   elem[i].outerHTML = elem[i].innerHTML.split("Alice").join(localStorage["hero"]?localStorage["hero"]:"Alice");
},0);

function rgb2hex(rgb) {
 if (!rgb) return;
 if (/^#[0-9A-F]{6}$/i.test(rgb)) return rgb;
 rgb = rgb.match(/^rgb\((\d+),\s*(\d+),\s*(\d+)\)$/);
 function hex(x) {
   return ("0" + parseInt(x).toString(16)).slice(-2);
 }
 return "#" + hex(rgb[1]) + hex(rgb[2]) + hex(rgb[3]);
}
This function basically looks for all span tags that have a color of #336699, replaces it with the child’s name, and removes the formatting. Pretty cool, huh? You will need to edit the color value in bold (#336699) to apply your own color value instead.
Problems with certain readers… and the solution
Apple Books
So one day one of our clients complained that dynamic character names are not working on Apple Books. It was not possible for users to enter text into the input text field. That was because, for some reason, Apple deliberately disabled all input text fields on the page.
Let’s not dwell too much on why Apple would do that, the fix is pretty simple. We will apply a timer so that after one second from loading the page, we will deliberately enable the input text fields on the page. So in the Global JS file, add the following code:
setTimeout(function(){
 var inputs = document.getElementsByTagName("input");
 for(var i=0;i<inputs.length;i++)
  inputs[i].removeAttribute("disabled");
},1000);
Amazon Kindle
Unfortunately, Amazon’s MOBI format does not fully support scripting (Javascript basically). So it won’t be possible to have this applied to your ebook’s Kindle version. For more details, you can read Amazon’s publishing guidelines here: Amazon Kindle Publishing Guidelines PDF.
The alternative is to run the EPUB 3 ebook format on Amazon Kindle Fire devices (which run FireOS – an operating system based on Android). Kindle Fire Tablets basically can run Android apps. You will find tonnes of EPUB readers available for Android, such as our own Kotobee Reader. Kindle Fire devices normally restrict you to their Amazon App Store, but you can still access the Google Play Store in various ways. Here are a couple of resources in case you’re planning to take this route:
- How to Install Google Play on Fire Tablets the Super Easy Way, No PC or Root (Video)
- How to Install the Google Play Store on the Amazon Fire Tablet or Fire HD 8
How can this be improved further?
What you have now is a fully working and convincing dynamic ebook, one that children will truly enjoy. Believe it or not, there are still ways you can improve this further.
Preload the child’s name into the input text field
A natural touch would be to display the stored child’s name as the default input text field value. This way anyone who opens the ebook can know which name to expect in the story. This can be done by adding the following script into the Global JS file:
setTimeout(function(){
 if(!localStorage["hero"]) return;
 var inputs = document.getElementsByTagName("input");
 for(var i=0;i<inputs.length;i++)
  if(inputs[i].name=="hero")
   inputs[i].value = localStorage["hero"];
},200);
Prevent special characters at input
Another useful addition is preventing special characters from being entered by the reader. Characters such as < > or & can really mess up your HTML. To apply this, basically edit the nameChanged function in the Global JS file to the one below:
function nameChanged(textfield){
 localStorage["hero"] = textfield.value = textfield.value.replace(/[^\w\s]/gi, '');
}
Full working example
Yes, this is a lot to take. Hopefully, you didn’t struggle while trying to apply any of these steps. But if so, you can just download our full working example file for Alice’s Adventures in Wonderland. Remember to look into the Global JS and the source code for the chapters, to understand exactly what we’ve done. The code in the Global JS file has been documented to show you what each part of the code is responsible for.
Credits to Feedbooks for providing the original EPUB
Read more.
Book Widgets: Everything You Need to Know